Finally I've received my order consisting of LED bulb. This is how LED bulb with red and blue diodes and 15W power looks like:
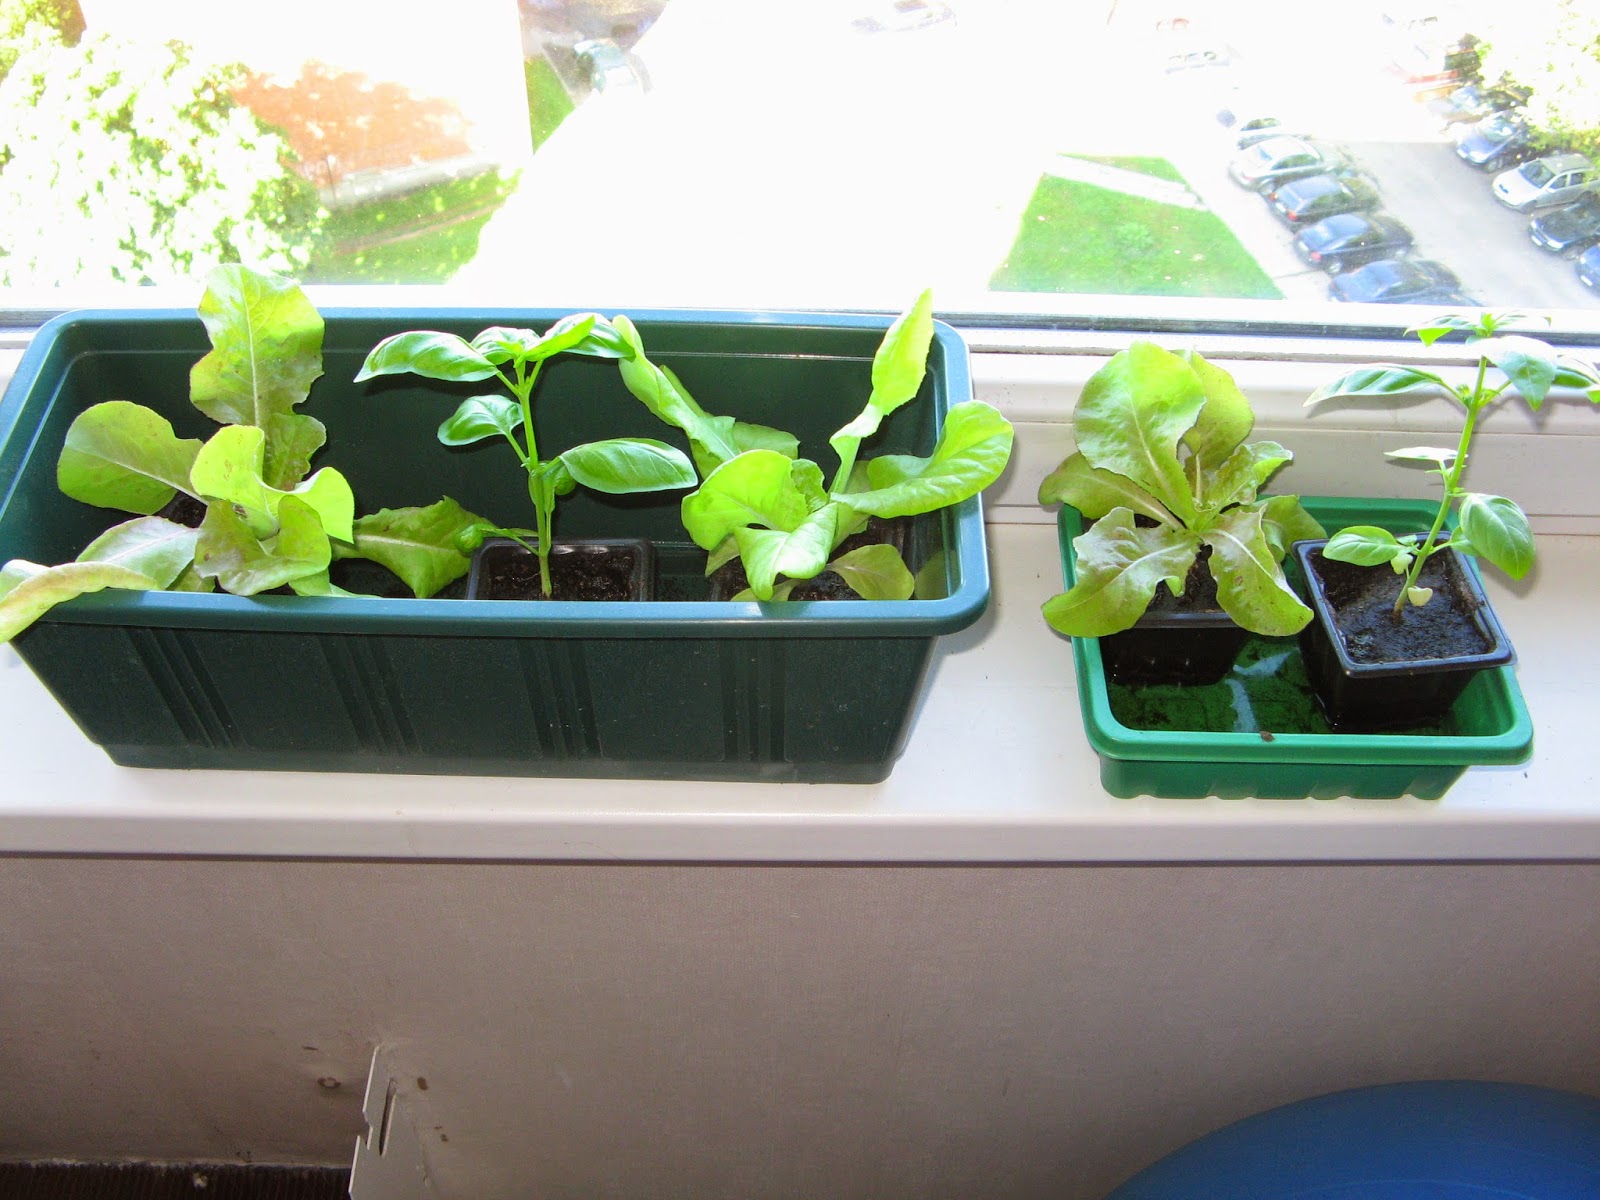
Wasting no time I prepared my self-made floating raft hydroponic system and filled it with fertilizing solution same amount and concentration as I described in my previous post. For this experiment I used basil and lettuce plants which grew in turf on my window sill.
After washing roots carefully I replanted basil and lettuce plants into pots filled with clay and installed them into hydroponic setup. After that I hanged LED-bulb above plants and switched it on.
Now I'll watch how my plants will develop. I hope that this experiment will be successful!
Showing posts with label DIY. Show all posts
Sunday, August 10, 2014
Wednesday, May 28, 2014
DIY "floating raft" hydroponic setup
The name of this system perfectly fits its essence - plants are planted into holes on a raft which is floating on surface of fertilized solution. Commercial growers are using big sized rafts floating in big sized beds.
I decided to build small and compact hydroponic setup because my main goal right now isn't business but experience. To make it happen I had to find following materials:
- Plastic container from household goods store - 4 €
- Aquarium aerator, aero-rock and plastic air-conduit from zoo-shop - 9,5 €
- Sheet of foam rubber from construction goods store - 1 €
- Clay from gardening goods store - 1 € for 1,5 l
Planting pots. I didn't find anything suitable in Jelgava. So I made pots myself by cutting holes in plastic cups which I found at home.
Building small floating raft hydroponic setup took following steps:
- I put plastic container on foam rubber and drew its shape.
- Cut out the raft with necessary shape. In manuals it's usually recommended to use electric fretsaw for this purpose. I don't have one so I used a knife instead.
- Put cups on the raft and drew a circle around each.
- Cut holes in the raft with 2 mm inside offset so that cups fit tight and don't fall out. It's recommended to use milling cutter for this purpose. It cuts holes accurately and fast. I don't have such a tool so again I used a knife instead.
- Put a cup into container and drew a fat mark above. It will be hidden in filled setup. When level of fertilized solution will become too low this mark will appear. It will tell me that it's time to add more fertilized solution.
- Put aero-rock into container and connected it to aerator outside with air-conduit. Purpose of this step is to add oxygen into fertilized solution when this setup will be filled and plugged in.
- And finally I put foam rubber raft with cups into container.
So building this hydroponic setup costed me less than 15 €. Theoretically after filling this setup with fertilized solution and turning aerator on I can plant something into it. Only moist-soil loving plants (basil, lettuce e.t.c.) should be planted into floating raft hydroponic systems. In my next posts I will describe how successful this hydroponic setup was.
I decided to build small and compact hydroponic setup because my main goal right now isn't business but experience. To make it happen I had to find following materials:
- Plastic container from household goods store - 4 €
- Aquarium aerator, aero-rock and plastic air-conduit from zoo-shop - 9,5 €
- Sheet of foam rubber from construction goods store - 1 €
- Clay from gardening goods store - 1 € for 1,5 l
Planting pots. I didn't find anything suitable in Jelgava. So I made pots myself by cutting holes in plastic cups which I found at home.
Building small floating raft hydroponic setup took following steps:
- I put plastic container on foam rubber and drew its shape.
- Cut out the raft with necessary shape. In manuals it's usually recommended to use electric fretsaw for this purpose. I don't have one so I used a knife instead.
- Put cups on the raft and drew a circle around each.
- Cut holes in the raft with 2 mm inside offset so that cups fit tight and don't fall out. It's recommended to use milling cutter for this purpose. It cuts holes accurately and fast. I don't have such a tool so again I used a knife instead.
- Put a cup into container and drew a fat mark above. It will be hidden in filled setup. When level of fertilized solution will become too low this mark will appear. It will tell me that it's time to add more fertilized solution.
- Put aero-rock into container and connected it to aerator outside with air-conduit. Purpose of this step is to add oxygen into fertilized solution when this setup will be filled and plugged in.
- And finally I put foam rubber raft with cups into container.
So building this hydroponic setup costed me less than 15 €. Theoretically after filling this setup with fertilized solution and turning aerator on I can plant something into it. Only moist-soil loving plants (basil, lettuce e.t.c.) should be planted into floating raft hydroponic systems. In my next posts I will describe how successful this hydroponic setup was.
Subscribe to:
Posts (Atom)